Wednesday, February 26, 2014

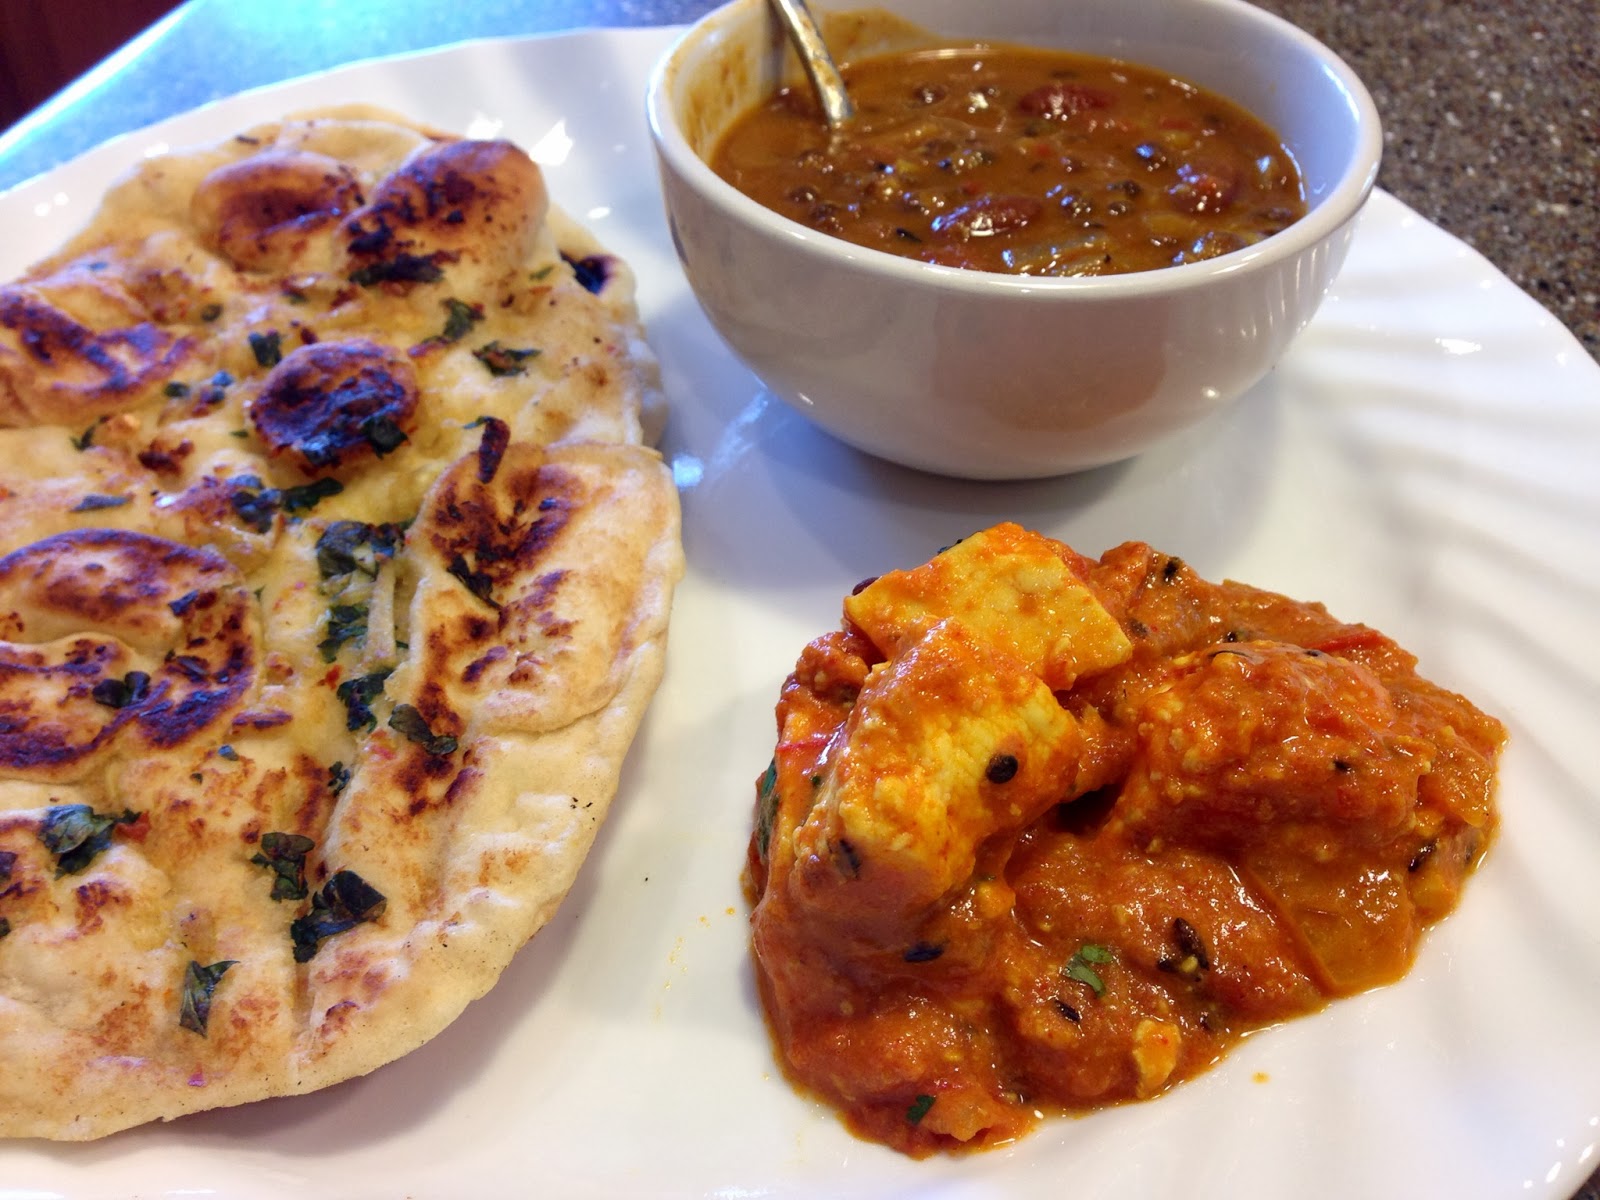
Dal Makhani

Continuing on with the meal, the next on the list is dal makhani, which I have now nailed after several attempts in the last year and a half. I have learned that you cannot make dal makhani from recipes online. I have read so many recipes that I've lost count. I even tried to make it from this one post that claimed it was the same recipe of dal makhani from the Oberoi Hotel. Whatever. It wasn't all that great. Many recipes forbid using onions for dal makhani. I have tried it with and without and I like it way more with onions. Anyway, here is my take on this dish:

Ingredients:

1 cup whole urad dal (kaali dal)
1/4 cup red kidney beans (rajma)
5 tbsp chana dal (bengal gram)
1 medium onion, finely chopped
3/4 cup tomato puree
5 cloves of garlic, finely chopped
2 inch piece of ginger, finely chopped (I like to add half a tsp more in the end, as well)
1 Serrano pepper, finely chopped (green chili)
3 tbsp olive oil
1 tbsp cumin
a pinch of asafoetida
2 tbsp coriander powder
1 tsp turmeric powder
3 tbsp garam masala
2 tbsp deggi mirch powder
4 tbsp full cream
cilantro for garnish

Method:

1. Soak the urad dal, rajma and chana dal in warm water. Let it sit for 2-4 hours. Later, in a pressure cooker, pressure cook the lentils with 4-5 cups of water, 2 tbsp of salt, half the ginger and a pinch of asafoetida, until they are soft. Once they are cooked, release the steam and open the pressure cooker to check if the lentils are soft enough to eat. Don't cook too much or too less. The lentils should retain their shape and still be soft from the inside.

Warning: Do NOT attempt to open the pressure cooker without releasing steam. You may severely end up burning yourself if you try to do that. If you're not comfortable using a pressure cooker, boil the lentils in a pot. It'll take much longer that way.

2. Heat oil in a pan, add cumin seeds and a pinch asafoetida.


3. Then add chopped onions, green chili, ginger and garlic.

4. Once the onions turn translucent, move them to one side of the pan and add tomato puree on the other side and cook.


5. Mix everything together. Add salt, coriander powder and turmeric powder. Cook for ten minutes until you have a nice thick masala (called tadka) ready.


6. These were the main steps. Now comes the easy part. Once your tadka is ready, add it to the cooked lentils. There should still be enough water in the cooker to mix the tadka and make a curry. If you feel there isn't enough water and the curry is starting to look thick, add some hot water according to your desired consistency. Let it come to a boil. Add any remaining ginger.

7. Then add the cream, garam masala, deggi mirch powder and salt according to your taste. Keep stirring and let it come to a boil again. Keep boiling until the curry becomes consistent and mixed with all the ingredients. You should have a creamy texture to the curry. Let it simmer for 15 minutes. Taste check for salt and spice levels. Add more garam masala or salt, if needed.

8. Before serving, garnish with chopped, fresh cilantro.


And that's it! Some people like to add butter to it in the end and more cream and what not. I like to keep it as healthy as possible and I think it still tastes pretty good without the butter or extra cream.

Dal makhani tastes even better when reheated the next day.

Hope you like it.
x

Tuesday, February 25, 2014

Shahi Paneer

Last night, I made shahi paneer, dal makhani and naan. I've made shahi paneer once before. It was good but not amazing. Last night, it was amazing. I'm so proud. 

I have read all sorts of complicated recipes to make this, involving a gazillion spices, yogurt, cream, etc. Here is MY version of the recipe (which is brilliant, by the way) and requires nothing complicated. No butter, no cream, the healthier-than-usual shahi paneer or paneer makhani. Whatever you want to call it.

Here's the recipe:


Ingredients:

1 pound (»450g) paneer (cottage cheese), cut into 2 inch cubes
1 cup of tomato puree
1 medium onion, finely chopped
2 tbsp olive oil
paste of 4 large cloves of garlic
paste of 2 inch piece of ginger
1 tbsp cumin seeds
pinch of asafoetida
4 tbsp of cashew nut paste
2 tbsp of coriander powder
1 tsp turmeric powder
1 tbsp of deggi mirch (I use this specifically to give the dish a bright orange color and a little heat)
Deggi mirch is an important Indian spice made from a unique blend of special varieties of colorful red capsicums and Kashmiri red chilies. It has a mild heat and a deep red-orange color. It can be found in Indian grocery stores.
1 tsp sugar
Salt to taste

Method:

1. In a pan, heat the oil. Once the oil is hot, add cumin seeds and asafoetida. 


2. Once the cumin seeds turn into a light brown color, add the onions and the ginger-garlic paste. Once the onions are translucent, add the tomato puree. Now I said 1 cup puree, which I thought was good enough but if you want more curry, go ahead and add more. 


3. Add coriander powder, turmeric powder and salt. Meanwhile, take a quarter cup of cashew nuts, soak in hot water and put it in the microwave for 2 minutes. 


4. Microwaving makes the cashew nuts softer and easier to grind. Add some water to them and grind into a smooth paste.


5. Add this paste to the curry and mix well.


6. By this time, the curry will become thick so add some hot water to it to reach your desired consistency. I don't like it to be too dry or too watery. I like a semi-thick curry.


7. After you add the water, add some deggi mirch powder. I actually added two tablespoons because my husband likes it spicy. But if you can't handle too much spice, stick to just one tablespoon. Add some sugar and let it come to a boil. Taste check for salt. Once you're happy with the taste of the curry, add cubes of paneer and stir it in.

If your paneer is store-bought, I would suggest soaking the paneer cubes in warm water to make them soft. My paneer was homemade and it was soft enough to eat so I just added it directly to the curry. 


8. Let it come to a boil and turn off the heat. And that's it! :)

9. Garnish it with some chopped cilantro and you're ready to eat.

It's that easy. No cream, no butter and it tastes just as creamy and tasty as it does in restaurants. Give it a try.

Love.
x

Monday, February 24, 2014

Mushroom and Garlic Pasta

I love mushrooms and I've been trying to find a good mushroom pasta recipe for a while. Today, I experimented a little and it turned out pretty good. It is super simple to cook, very little ingredients and it is packed with flavor. 


Ingredients:

1 package of spaghetti
1 large package of mushrooms (whichever kind you like), chopped
6 large cloves of garlic, minced
1 stick of butter
3 tbsp of olive oil
1 cup of fresh parsley, chopped
1 tbsp of dried basil
1 tsp chili flakes
1/4 cup of grated Parmesan cheese
salt and pepper to taste

Method:

1. Cook the spaghetti until al dente. I like to wait until boiling point, throw in a tbsp of salt and then put the spaghetti in. It cooks faster and more easily. Chop the mushrooms. I would say the more mushrooms the better because I like mushrooms a lot. But it's totally up to you.

I actually added more later.


2. In a separate pan, heat half a stick of butter (about 4 tbsp).


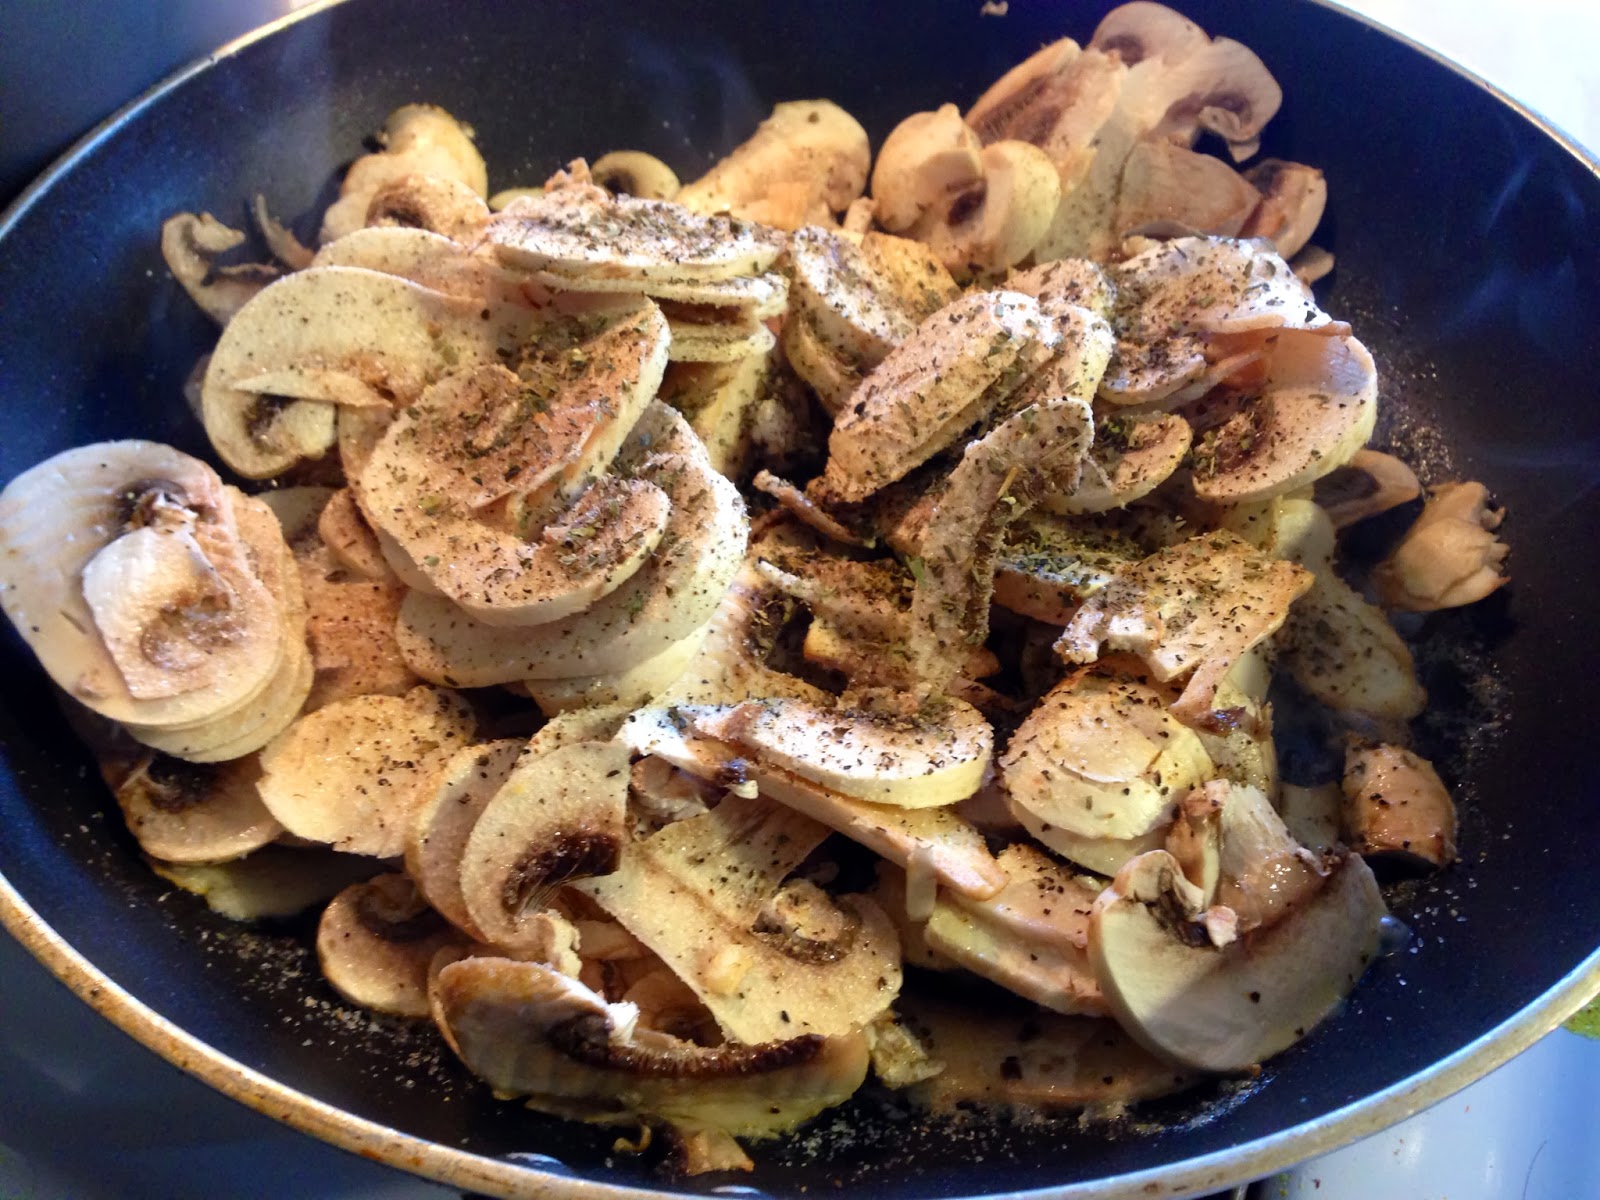
3. As the butter melts, add the chopped mushrooms and the minced garlic. Add salt, pepper and dried basil.


5. Cook until the mushrooms turn brown and soft and let out the juices.


6. Now add the remaining butter, olive oil, chili flakes and grated Parmesan cheese. Taste check and make sure there is enough salt. Once you're satisfied with the sauce, add fresh, chopped parsley.


7. Now add this sauce to your cooked spaghetti and mix well. And that's it!


Garnish with some more parsley to make it look pretty. Enjoy it with garlic bread. 

I made the garlic bread at home. I took regular old buttermilk white bread, spread butter, minced garlic and chopped parsley, with a pinch of salt and chili flakes on it. I baked it for about 10 minutes on 425 degrees Fahrenheit (preheat first). You could even put some mozzarella cheese over it to make it cheesy garlic bread! 

Try it! I'm sure you'll love it.
xx

Sunday, February 23, 2014

Himachali Madra

Here is a simple Himachali Madra recipe. The first time I ate madra was at a dhaam (feast), during a wedding. Wedding madras are fatty with thick gravy, chickpeas and lots of dry fruits. It tastes brilliant, though. I've cooked it at home twice but considering my weight, I can't afford to make it too often. Haha.

This is a madra that Himachalis cook at home as part of a meal and it is quick and easy to make. Also, it isn't fatty at all. This recipe serves two.


Ingredients:

2 medium potatoes, parboiled and chopped into 1 inch cubes
2 cups of plain yogurt (or more depending on how much curry you want)
4 tbsp oil 
1 black cardamom
2 cloves
1 small stick of cinnamon
1 tsp cumin
1 tbs coriander powder
1 tsp turmeric powder
1/2 tsp red chili powder
A pinch of asafoetida (hing)
1 cup chopped cilantro for garnish 
3 tbs ghee (clarified butter)
Salt to taste

Method:

1. Heat oil in a kadai (large pan). Once the oil is hot, add cardamom, cloves and cinnamon.


2. Now add cumin seeds and asafoetida.


3. Once the cumin starts turning brown, add coriander powder, red chili powder, and turmeric powder. Cook for 30 seconds. If you let it cook too long, it'll turn black and all the spices will burn. So really watch out to make sure you don't burn anything.


4. Now add parboiled potatoes and cook it until the potatoes are soft enough to eat. It's just faster if they have been parboiled but if you can't be bothered, throw in regular potatoes. It'll just take longer to cook. I usually keep parboiled potatoes in the fridge to use whenever I want. It just makes life easier.


5. While the potatoes cook, take two cups (or more) of yogurt and mix it vigorously so it looks nice and smooth. 


6. Once the potatoes are cooked, splash the pan with 2-3 tablespoons of water just to cool the vessel a little bit. Bring the heat to the lowest point. Once the vessel is cooler than before, pour all the yogurt into the pan and keep stirring vigorously. If you don't keep stirring, the yogurt will curdle before you know it and you won't be able to eat the curry. Just make sure that once you put the yogurt in, you keep stirring non-stop on medium heat.

I clicked this picture while stirring. 
7. Now the rest of the part is tedious. You just have to stand there and keep stirring until the curry starts to boil. This may take up to 15 minutes.  Just be patient. At no point (until it boils) can you stop stirring. It may look like there is some curdling in the beginning even if you were stirring the whole time, but don't worry. As the curry thickens, it'll even out. If the curry begins to look a little too thick, you may add some water to adjust the consistency. This madra isn't supposed to be thick.


8. Once the curry begins to boil, you can stop stirring. Your work is done. Let it boil for a few minutes, then add some salt and throw in the cilantro.

9. Now serve with steamed rice and enjoy :)


Have a nice Sunday! 
:)